
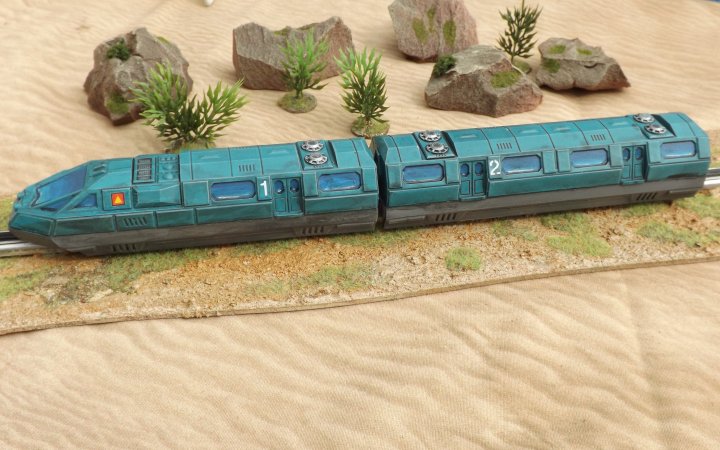
We promised to write an article on making track for our new 15mm Monorail cars, and here it is. As you’ll see, it’s a really straightforward process.
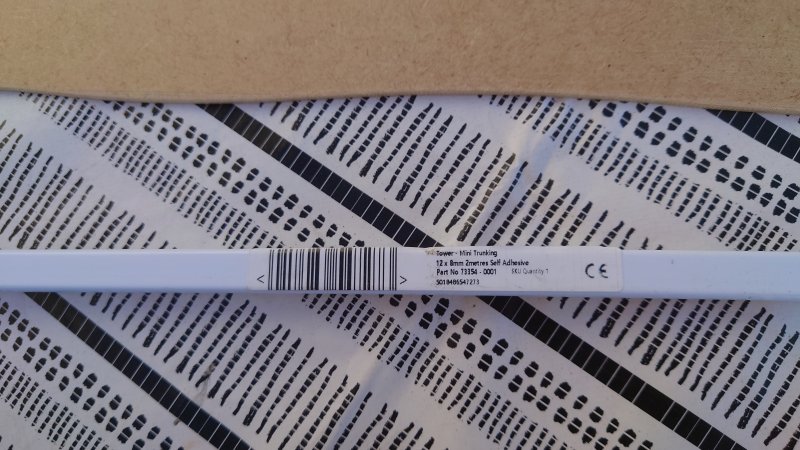
The track itself is made from mini cable trunking – ours came from Screwfix in the UK. It’s 12x8mm trunking (Screwfix product code 73354, made by Tower), sold in 2m lengths for the princely sum of £3.99 at the time we wrote this. You can probably get a similar product in other DiY stores (Wickes certainly sell it) and a quick search of both Amazon and eBay turned up a number of options, although buying it from a mail order supplier is more expensive and it’s generally cut down into shorter lengths for posting.
We can’t help with suppliers overseas, but hopefully a similar product should be available. If anyone finds a reliable source in their country, let us know and we’ll update this page with the information.
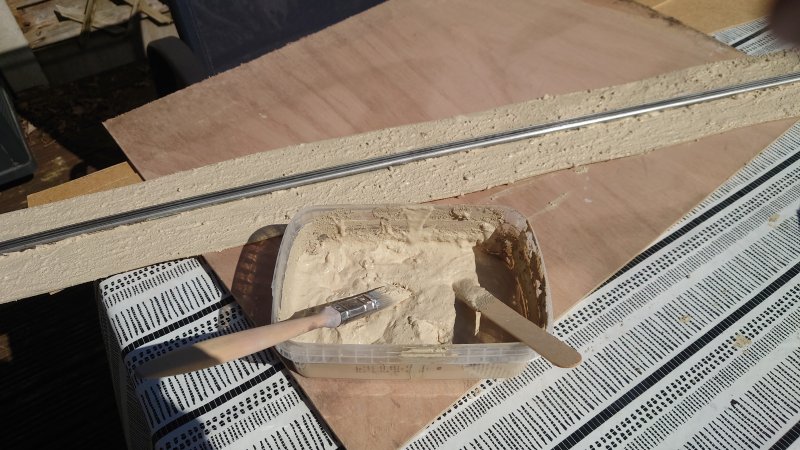
So, onto the build. You’ll need a baseboard for the track to keep it upright on the table – we used a piece of 3mm MDF (actually the backing board from a broken picture frame) roughly 70cm long, and cut into ~10cm wide strips, using a jigsaw to make the edges a bit more irregular. In hindsight this was probably a bit too wide, they could have been half the width and would still have been stable. You might want to smooth the edges with some sandpaper, or if you have a small power sander you can go the whole hog and bevel the edges to blend into the table.
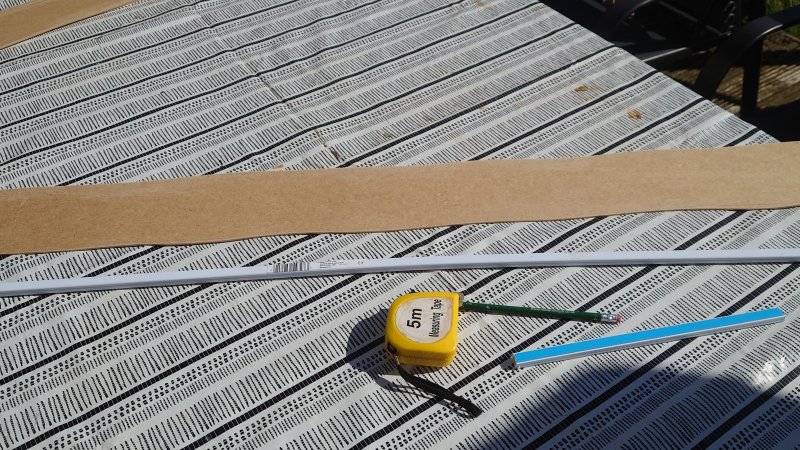
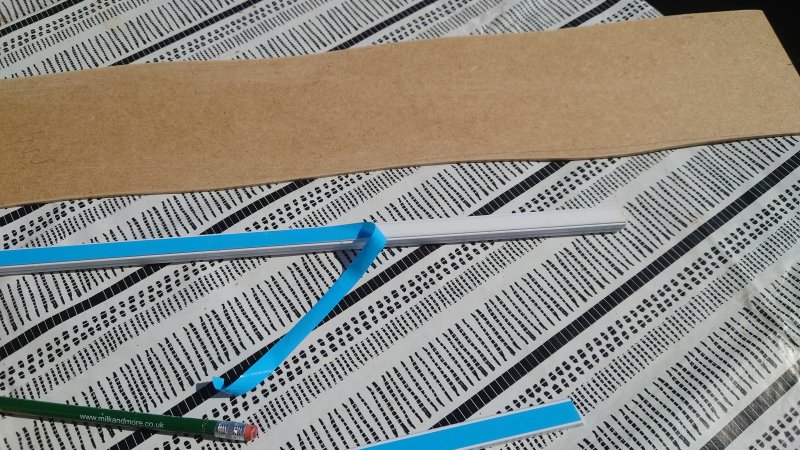
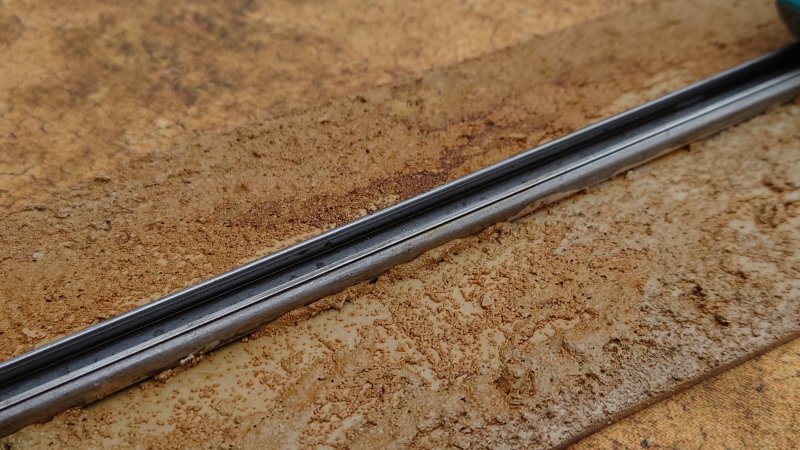
Now remove the lid from your trunking (discard this, you won’t need it) and cut it to length. We found it easiest to cut it slightly overlong and trim it down after fitting. Remove the backing from the self-adhesive strip and press it down firmly – make sure that you get this right first time, as it sticks really well and you’re unlikely to be able to peel it off and reposition it.

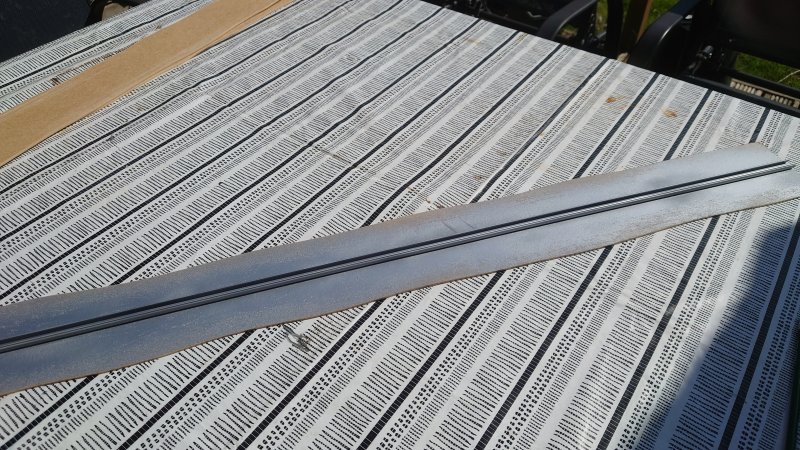
That’s assembly done – we told you it was easy – so it’s on to painting. We sprayed it with generic silver paint from Poundland, but because the plastic is slightly shiny and flexible we gave it a good coat of Halfords’ grey primer first so that it had a good surface to stick to. After this had dried we gave it a black wash to tone down the chromium-plated, too-clean look. You can use your favourite commercial shade, but since this used quite a lot we mixed some up from cheap black acrylic hobby paint thinned with Johnson’s acrylic floor varnish.
All that’s left is to texture the base (this is the point where we wished we’d made the baseboards narrower!). We used a mix of sand, PVA glue and household emulsion paint – sand for texture, the paint for colour and the PVA helps it stick and also stops it cracking like a dry river bed. Then just finish it off to match your game boards with flock, grass tufts, bushes etc.
And that’s it for your basic track lengths. We’ve yet to try anything complicated like curves – the trunking isn’t really very flexible and tends to twist, but it might be possible to use an industrial heat gun to soften and bend it. The next step will be coming up with pillars for an elevated monorail, and figuring out the design for a station.
You must be logged in to post a comment.